

Don’t panic if you accidentally drop your iPad flat on the ground and the screen breaks . However , if you’d prefer not to change it yourself , your local Apple store will almost certainly do it for you . Nevertheless , expect to spend on $250 and $350 for this assistance . You should thus follow this advice and replace the display yourself . Recently , we replaced the screen of the first-generation Wi-Fi iPad , . So we wanted to share our experiences with how we did it .
How to Replace the iPad Digitizer Step by Step
In this article, we’ll walk you step-by-step through the process of recovering your broken iPad screen.
Step 1: Getting the Right Parts
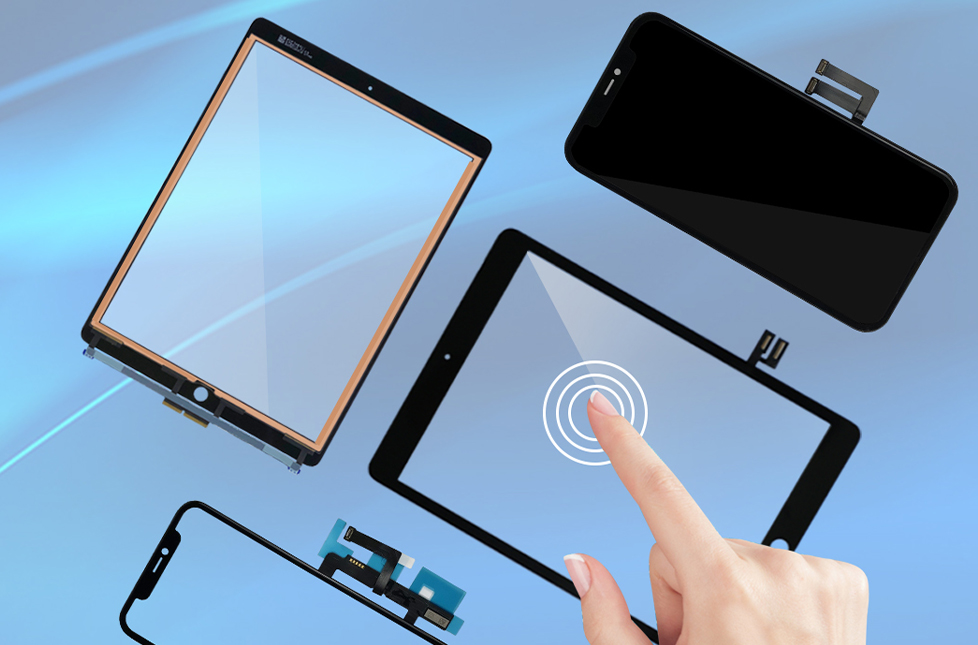
The most important phase in fixing your mess up iPad screen is to figure out which iPad parts require supplanting and which might be reused . Knowing the components you needs is crucial since it will help you save money . The digitizer touches screen and LCD screen are two distinct displays that are connected together and are part of the front assembly .
The digitizer, which spans the front of the display, includes the side panel and the home button. Underneath it is an LCD screen that is thinner on the corners and thicker in the middle. Additionally, a kit with screws and ribbons for connecting to the digitizer is included with the device. The digitizer only comes with one ribbon, and that ribbon connects the digitizer to the LCD.
Step 2: Getting the Right Tools
When you purchase the digitizer, you’ll also need to purchase a few other tools, and these are what you’ll need:
- a small screwdriver
- a metallic prying instrument
- plastic prying apparatuses
- a T4 Torx screwdriver
- a roll of electronic tape
- iPad clips replacement set
Step 3: Taking the iPad Apart
Start by removing the screen’s protective covering from the digitizer. Then, next to the iPad with the broken digitizer, put the digitizer down. You must insert the metallic prying tool and put it into the wedge at the edge of the front panel.
The digitizer must be carefully lifted and rotated counterclockwise once the metal spudger or prying tool has been inserted. The metal clamps will make them very secure and challenging to move.
At the point when you unscrew and open up your iPad’s harmed digitizer, you’ll see a couple of strips integrating the two showcases with the back panel. Start by unplugging the digitizer’s locking connector. To release the clamps, you’ll need to elevate the hatches using a sharp tool.
The connection to the ambient light sensor must then be unlocked . You’ll be able to unlock it from the rear panel with a simple snap . After removing the two connections (or three if you have a 3G antenna ) , You can now separate the front assembly (containing the digitizer and LCD ) from the back panel .
Place the front panel assembly next to you after separating the rear and front panel assemblies . Then , grab the T4 Torx screwdriver . You’ll need to unscrew eight screws from the back and front of the gathering that interface the LCD screen to the digitizer.
The electronic tape from the assembly’s side need then be removed. The LCD screen ought to be loose at this point and separates from the digitizer, so you can take it out of the frame. In order to install the thin ambient light sensor connection on the new digitizer, you’ll need remove it first.
Step 4: Reinstalling the New Digitizer
The following step is to place your brand-new digitizer in its place, replacing the previous, damaged one. Placing the new iPad screen on a level surface, insert the LCD between the sides where the screws will be placed.
The ambient light sensor must now be reinstall where it was. Another location to utilize electrical tape is around the LCD’s border, where the split ribbon wire once was but has since been removed. Replace the eight screws in the framework to join the LCD with the digitizer.
If you followed these steps and the video connector didn’t unplug from the rear panel rather than the front assembly, you must reattach this cable. Once the video connector is in place, lock the latch and cover it with electrical tape.
The digitizer must now be placed close to the LCD, the split ribbon wire attached, and the clamps holding it in place secured by depressing the latches until they are flat. The ambient light sensor must also be connected to a remote connection that lacks a lock or clip.
The next and last step is to use metallic clips to attach the digitizer to the rear panel only after all connections have been made again. To put the iPad back together the same way it was before, carefully press down on each side until the clips snap into place.
Conclusion
As you have observed, it is feasible to replace a cracked iPad screen, albeit it is not as easy as it would seem at first. Before you start, we suggest having this guide close on hand for the method. Make sure you have the essential gear and comprehend what you’re changing — the iPad digitizer, the mid-board LCD, or both.


2 Responses
Nice post. I learn something new and challenging on sites I stumbleupon everyday. Its always interesting to read content from other writers and practice a little something from their sites.
May I simply just say what a comfort to uncover an individual who actually knows what they are talking about on the internet. You definitely realize how to bring an issue to light and make it important. More and more people have to look at this and understand this side of your story. Its surprising you arent more popular because you surely possess the gift.